
How to Use Transparent Clipart in Social Media Graphics That Look Polished
Learn to choose transparent clipart, match illustration styles, and balance spacing, color, and text for polished social media graphics.

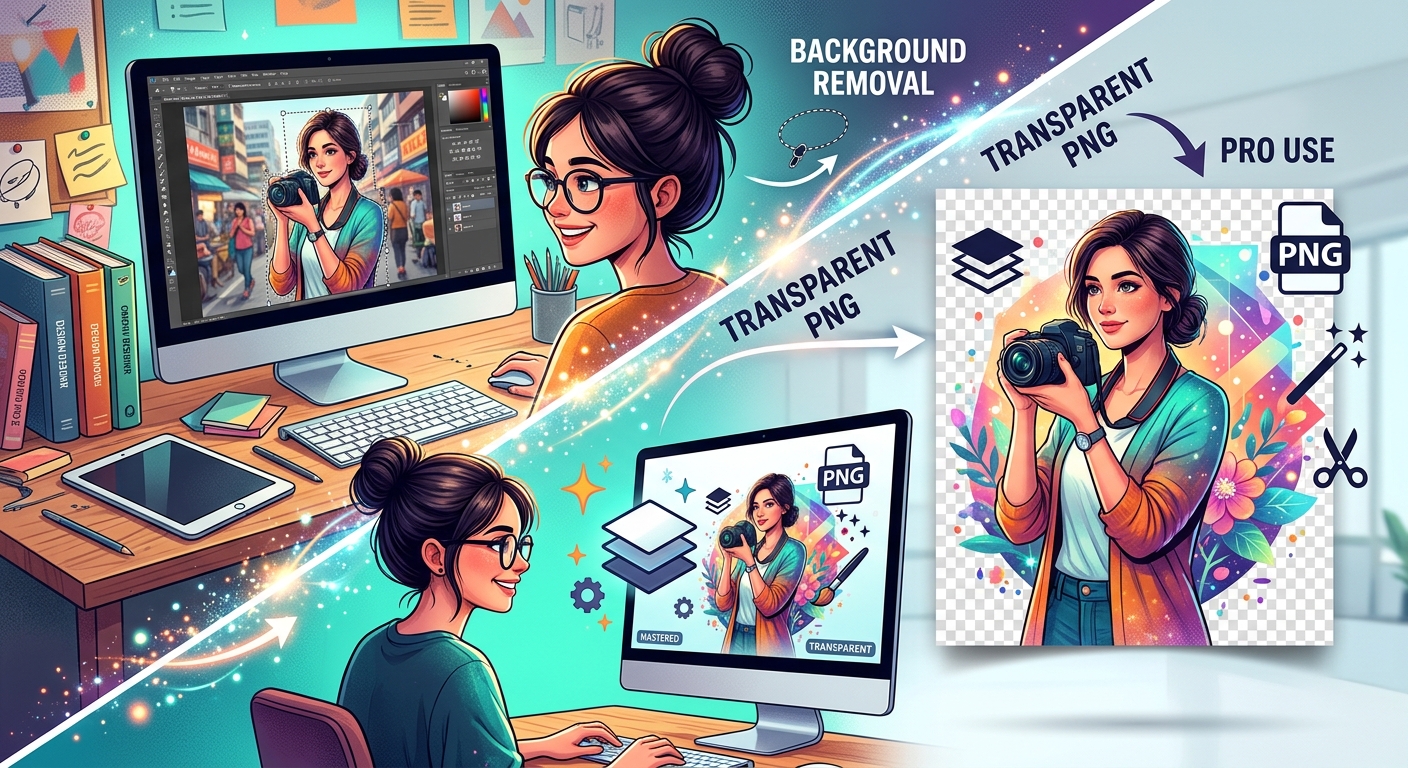
That photo is almost perfect. The subject is sharp, the lighting works, and the colors are right. But the background is a problem. It is too busy, the wrong shade, or completely irrelevant to the design you are building. Removing it and saving the result as a transparent PNG is the fix, and it is a skill that pays off across nearly every area of visual work, from social posts to product mockups to presentation slides. Here is everything you need to know to do it well.
A background-free image starts with picking the right removal method for your photo. Fast online tools work for most everyday jobs, while manual editing in a photo editor handles the tricky cases where colors overlap or fine details need precision. Either way, the output is a PNG with full alpha transparency, no white box, and clean edges. From there, it drops cleanly onto any background and layers naturally alongside clipart or other graphic assets in your design.
Not every image format supports transparency. JPEG, the most common photo format, does not. Every JPEG has a solid background color, usually white, whether you intended it or not. That is why photos from stock sites often arrive with a white rectangle boxing in the subject when you drop them onto a colored slide or webpage.
PNG is different. It supports an alpha channel, which controls exactly how transparent or opaque each pixel is. This makes it possible for a single PNG file to show a fully solid subject, softly feathered edges, and completely invisible background pixels all at once. The result is clean, flexible placement on any surface behind it.
At a technical level, PNG transparency follows a formally published format specification that defines precisely how the alpha channel is encoded and how pixels blend with underlying layers. The practical takeaway is simple: if your image needs to sit on different backgrounds across different contexts, always use PNG.
| Format | Transparency Support | Best Use Case | Edge Quality |
|---|---|---|---|
| PNG | Full alpha channel | Logos, cutout photos, clipart, web graphics | Smooth, anti-aliased |
| JPEG | None | Photos with a permanent background | N/A |
| GIF | Binary only (on or off) | Simple looping animations | Jagged edges |
| WebP | Full alpha channel | Optimized web images | Smooth, anti-aliased |
Background removal splits into two approaches. Which one you use depends on the complexity of the image, the time you have, and how precise the final cutout needs to be.
Photo editors like Adobe Photoshop, GIMP, and Affinity Photo give you full control over every pixel. Manual removal earns its time investment in these specific situations:
Manual selections take longer. A detailed hair selection in Photoshop can take fifteen to twenty minutes even for an experienced user. The tradeoff is a level of precision that automated tools cannot always match on complex subjects.
For most everyday design work, you do not need that level of control. Portrait photos with clear subjects, product shots against plain surfaces, and object photos with distinct outlines all respond well to AI-based removal. Upload the image, wait a few seconds, and download a clean transparent PNG.
Running your photo through a free background remover is the fastest way to prepare an asset before combining it with clipart or other graphics from SubPNG's library. The whole process takes under a minute, and the output is ready to drop directly into any layout.
Whether you are using an online tool or a manual editor, the core steps follow the same sequence. Here is how the process looks from beginning to end.
A file with a .png extension does not automatically mean the transparency made it through the export process. Here is how to verify the result and avoid the most common mistakes before using the file in a design.
A transparent PNG becomes most useful when it is part of a larger composition. This is where a removed background stops feeling like a minor technical step and starts feeling like a real design skill.
Say you have cut out a portrait and want to place the person against a stylized illustrated background. Or you have removed the background from a product shot and want to layer it over a decorative label template. In both cases, the transparent PNG sits cleanly on whatever is below it, no white fringe, no hard rectangular outline, no awkward edge catching the eye.
SubPNG's library includes free transparent clipart, decorative graphics, and PNG assets across hundreds of categories. Because every asset in the library already arrives without a background, combining downloaded elements with your cutout photos requires no additional removal work. Bring both files into your design tool, stack the layers in the order you want, resize to fit, and the transparent areas in each file handle the rest automatically.
This layering approach works with portraits, food photography, illustrated characters, flat icons, and almost any other subject type. The key is that each asset arrives as a clean PNG, ready to composite without fighting background colors.
In Google Slides or Microsoft PowerPoint, inserting a transparent PNG via the Insert menu places the image naturally on the slide background. The slide color, gradient, or custom image shows through the transparent areas without any clipping masks or workarounds needed. This is especially useful for product images, headshots, illustrated diagrams, and any graphic that needs to sit on a custom slide design rather than inside a white rectangular frame.
Tools like Canva treat transparent PNGs natively. Upload your cutout as a custom image asset and position it on any template. The transparent parts reveal whatever sits behind them, whether that is a gradient, a full-bleed photo, or a branded pattern. For Instagram posts, Pinterest graphics, YouTube thumbnails, and Facebook banners, this makes a noticeable difference in how polished the final graphic looks compared to a photo with a white or mismatched background still attached.
All major modern browsers render PNG transparency without any additional code or styling. Place a transparent PNG in an HTML file using a standard image tag and position it over a CSS background color or image. The transparent pixels automatically reveal the background behind them. This is why transparent PNGs are the standard choice for web logos, navigation icons, button graphics, and interface illustrations across the industry.
The first time you go through this process, it feels like there are a lot of moving parts. By the third or fourth time, the whole sequence takes a few minutes at most. The workflow becomes habitual, and you start to recognize automatically which images would benefit from background removal and which ones can stay exactly as they are.
The real payoff is reusability. Once a photo has its background removed and is saved as a clean transparent PNG, it stops being a single-use asset tied to one layout. That same cutout can appear in a presentation this week, a social graphic next week, and a web page the week after that. Pair it with free clipart and graphic assets and the resulting compositions look deliberate and cohesive without requiring hours of work to build.
Pick the right removal method for each image. Export carefully with the correct format settings. Verify the transparency before placing the file anywhere. Then start layering. Those four habits, applied consistently, are what separate designs that look assembled from designs that look made.
Learn to choose transparent clipart, match illustration styles, and balance spacing, color, and text for polished social media graphics.
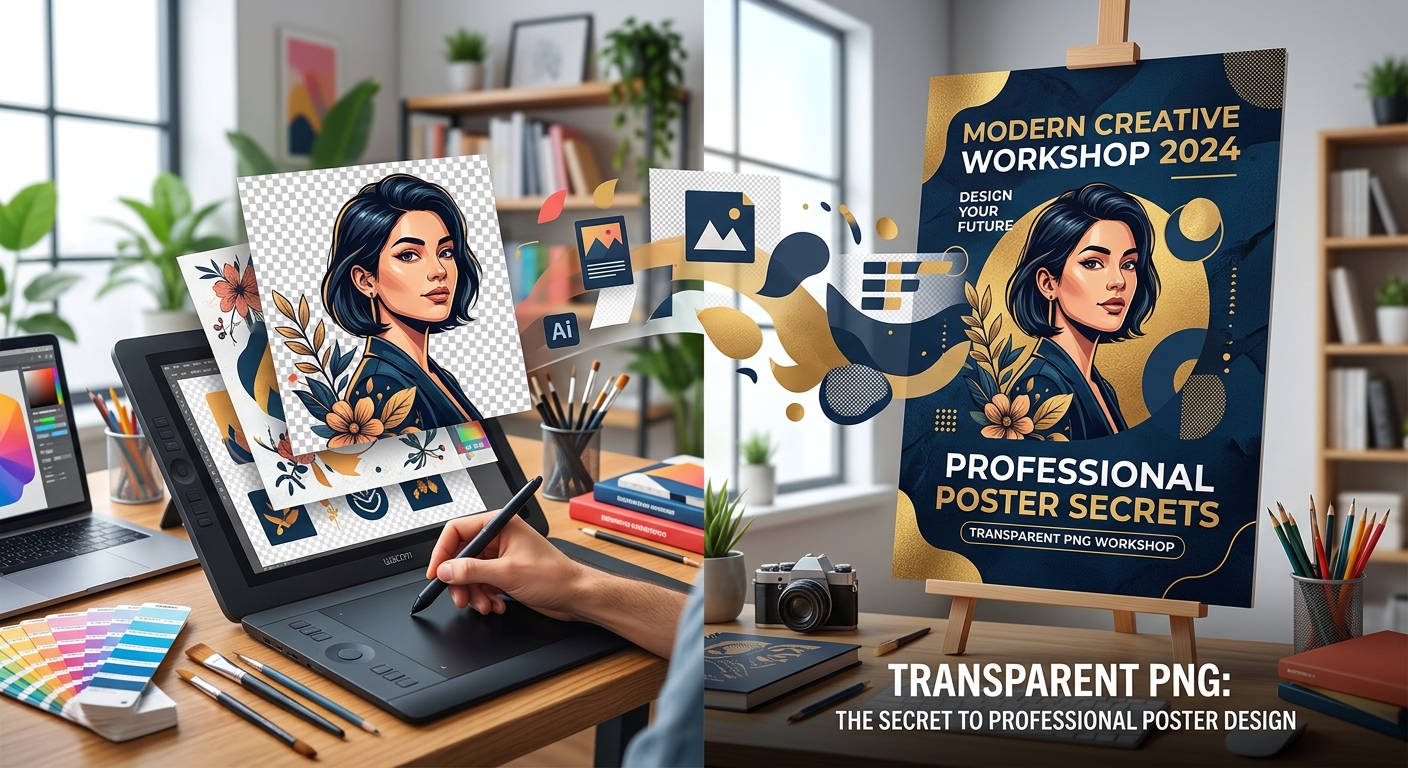
Create polished posters with transparent PNGs, readable fonts, balanced spacing, and practical checks for image resolution, licensing, and export quality.
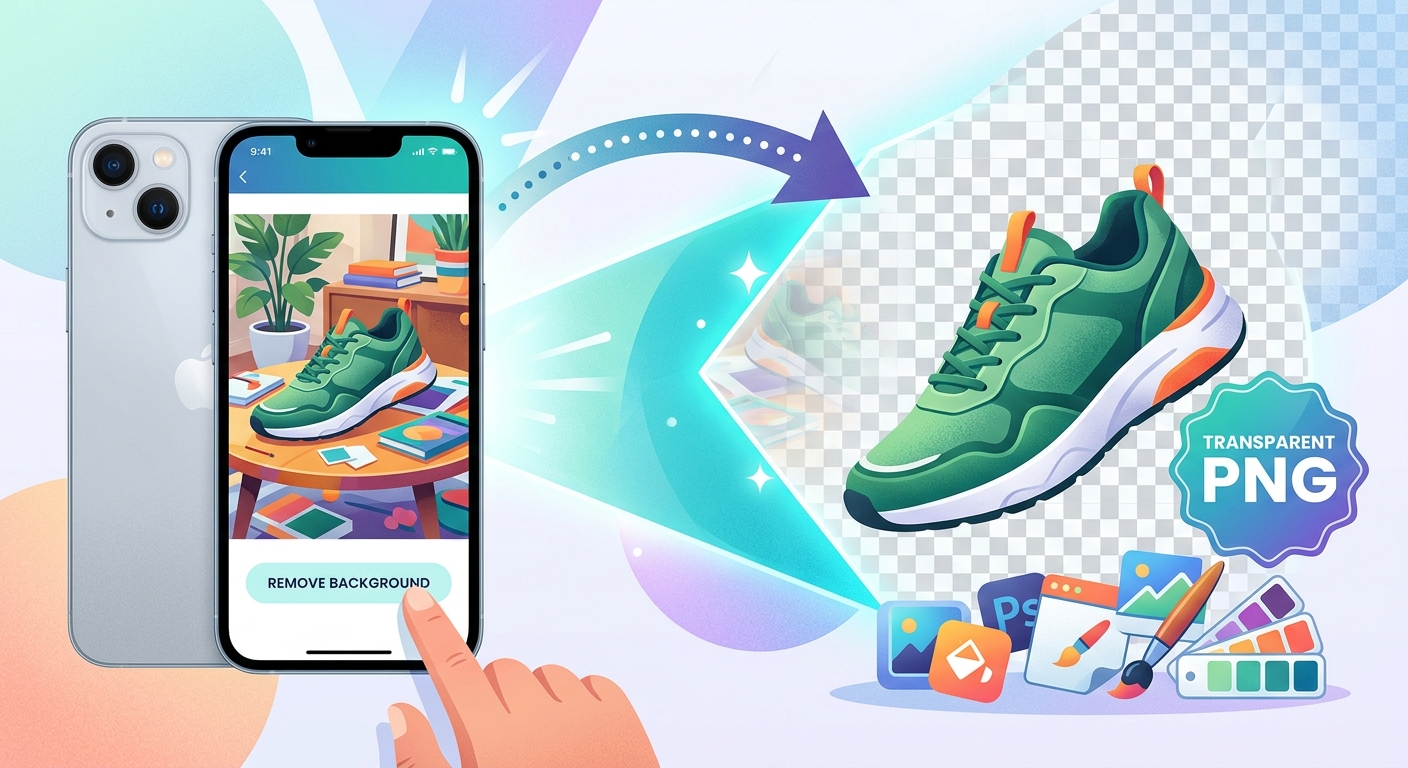
Turn iPhone product photos into transparent PNGs, clean up cutout edges, and pair them with free clipart for shop listings and social posts.
 Favorites
0
Favorites0
Favorites
0
Please add SubPNG.com in the final credits
Please add SubPNG.com in the final copy
Please add SubPNG.com to final design
Copy and paste the below code for attribution:
Don’t want to give attribution? Join Pro to get our entire library with generous usage rights, so you can use items with confidence.