
How to Use Transparent Clipart in Social Media Graphics That Look Polished
Learn to choose transparent clipart, match illustration styles, and balance spacing, color, and text for polished social media graphics.

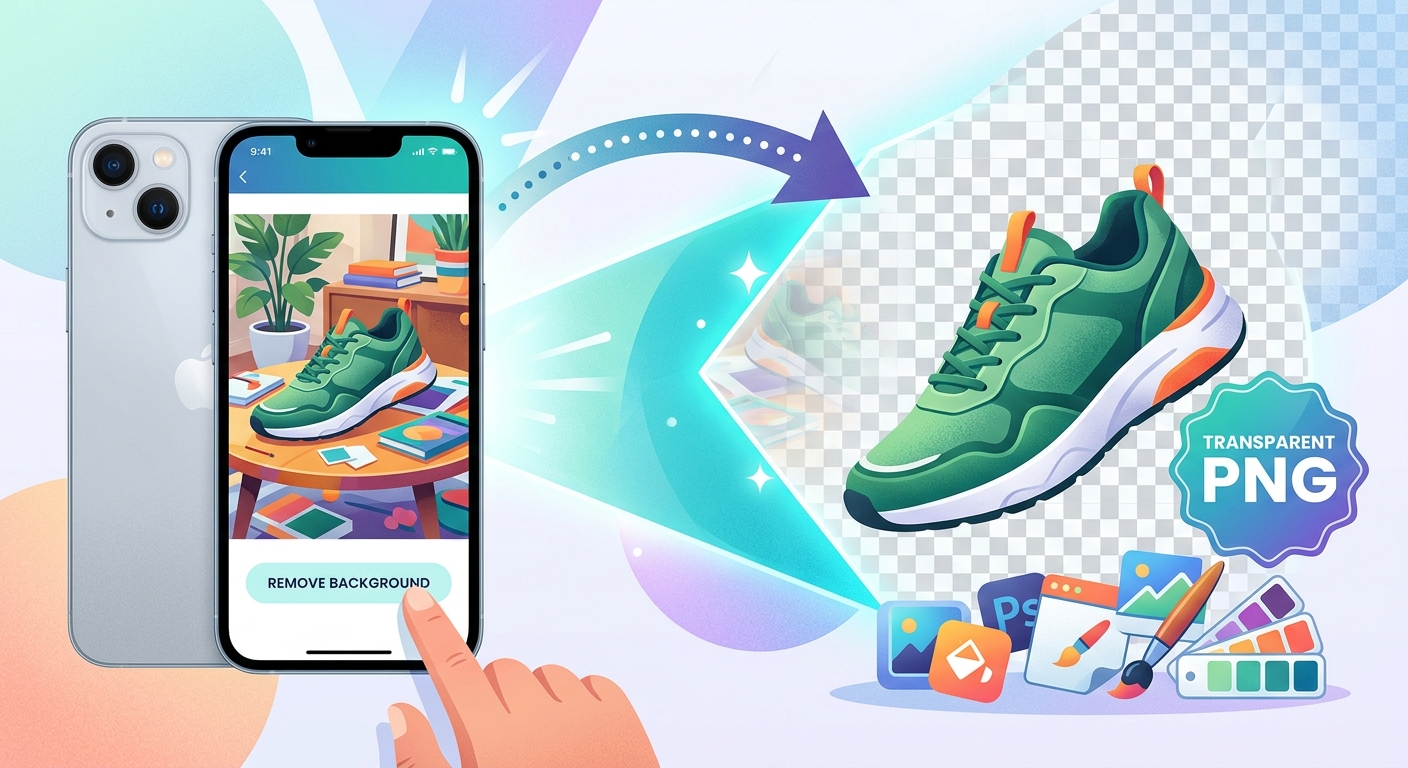
Your product looks great on the kitchen counter. In the photo, though, a charging cable, a cupboard handle, and yesterday’s mail all compete for attention. A transparent cutout gives you a fresh start. You can place that same product on a clean listing background, build a seasonal promotion, or add a few graphic accents for a social post. The trick is to start with a clear photo, remove the background carefully, and save the cutout in a format that keeps its empty areas transparent.
Background removal works best when the product is easy to separate from its surroundings. A white candle against a white wall can lose its outline. A dark bag on a dark sofa creates the same problem. Choose a backdrop that contrasts with the item without adding a busy pattern.
A sheet of plain paper, a smooth wall, or a piece of fabric can work. Keep enough space around the product to preserve handles, straps, and other parts that extend beyond its main shape. Do not crop those details at the camera stage. You can trim the empty space later.
Place the product near a window with indirect daylight. Direct sunlight can produce harsh shadows and bright reflections. Turn off nearby lamps if they create a different color cast. Mixed lighting can make white packaging look yellow on one side and blue on the other.
Clean the camera lens before shooting. Tap the product on your iPhone screen to set focus. Adjust exposure if bright labels lose their detail. Use the regular Photo mode for a dependable starting image. Portrait blur can soften edges that you need to keep sharp.
Choose the image based on useful detail, rather than mood alone. For a shop listing, buyers need to understand the product’s shape, color, and condition. A dramatic angle may suit a promotional post, but a straightforward view often makes a better reusable cutout.
Open your chosen photo and check it at a larger size. Is the label sharp? Does the color match the item in front of you? Are any highlights completely white? Pick another shot if the image is blurry. Background removal cannot restore missing detail.
Make modest brightness and color adjustments before creating the cutout. You want a faithful product image. Heavy filters can shift fabric colors, change the appearance of wood, or make food packaging look different from the real item.
Crop away obvious clutter, but keep a small margin around every edge. Straighten the image if the product looks tilted by accident. These simple edits give the removal tool a clearer starting point and reduce cleanup later.
Keep the original photo as a separate file. Save your edited version with a useful name, for example, ceramic-mug-front-photo. When you produce several designs from one item, clear filenames prevent confusion between the source photo, the transparent cutout, and the finished graphic.
Your iPhone photo may arrive as an HEIC file. Some background-removal tools accept that format, while others ask for JPG or PNG. Check the file requirements before uploading. If the tool rejects your photo, that does not necessarily mean anything is wrong with the image.
Use HEIC to JPG to create a compatible copy when your chosen background-removal tool does not accept HEIC files. Start from the original photo and keep enough resolution for your planned design. Open the converted file once to confirm that its orientation, colors, and detail still look right.
This conversion prepares the input file. It does not remove the background. The JPG copy still contains the scene behind your product. You will remove that scene in the next step, then export the finished cutout as PNG.
Avoid converting the image back and forth between formats. Repeated JPG saves can introduce compression artifacts, especially around lettering and sharp boundaries. Keep the original, make one compatible working copy if needed, and use that copy for background removal.
Use a background-removal tool that lets you preview the result and export transparency. Automatic removal can handle a clear product photo with little effort. More complicated items may need an editor with erase and restore controls.
Pay special attention to openings inside the product. A mug handle may still contain a patch of the original backdrop. The same can happen between straps or beneath an arch-shaped part. Those areas need to be transparent too.
Try viewing the cutout against both a pale background and a dark background. A pale test makes dark leftover pixels easier to see. A dark test reveals white fringes. If your editor offers edge refinement, make small adjustments and check the result again.
Clear glass, glossy metal, fine mesh, and translucent packaging can be harder to isolate. Their appearance partly depends on the original surroundings. A cutout may look convincing on one background and awkward on another. For these products, a cleaner source photo or a less aggressive edit may produce a more believable result.
The finished cutout should be exported as PNG because PNG supports transparency. JPG does not. If you save a transparent cutout as JPG, the empty areas must become a solid color. That can leave a visible rectangle around the product when you place it in another design.
Choosing PNG alone is not enough if your editor still has a solid background layer turned on. Hide or remove that layer, then select the transparent export option if one is available. A checkerboard preview usually represents transparent areas. It should be part of the editor interface, rather than a pattern saved inside the image.
Verify the exported file by placing it over a colored background in your design editor. The color should show through the empty areas around the product and through any openings. If you see a white box, return to the export settings and check the background layers.
Keep this transparent PNG as your reusable product asset. Your finished social graphic may have a solid background and may be exported in another accepted format. Those are separate files with separate purposes. The cutout preserves flexibility; the finished graphic contains the complete layout.
Start your layout with the product, then add graphics that support the message. A small leaf illustration can suit botanical packaging. A ribbon can frame a gift promotion. A simple burst shape can draw attention to a sale label. Each addition should have a clear job.
Choose clipart with a compatible visual style. A flat illustration, a detailed watercolor flower, and a glossy three-dimensional icon can feel disconnected in one layout. A few coordinated assets usually look more polished than a large collection of unrelated graphics.
Before using a free asset in a business graphic, read its license or usage terms. Free download access does not automatically grant permission for every commercial use. Check whether attribution is required and whether your planned listing or promotional use is permitted.
Place some decoration behind the product to create depth. Use foreground accents carefully. A leaf covering the corner of a box may look intentional, but a large graphic hiding the label makes the listing less useful.
If the product seems to float, add a subtle contact shadow beneath it in the layout. Keep the shadow soft and close to the base. A large dark oval can make the product appear suspended above the surface. Match the shadow to the lighting visible in the photo.
A shop listing and a social post have different jobs. A listing image helps someone inspect an item. A social graphic needs to communicate a message during a brief scroll. Use the same transparent product PNG, but adjust the surrounding layout for each purpose.
For a listing, keep the product large and easy to examine. Check the marketplace’s current image requirements before adding text, badges, or decoration to the main image. A clean background may be required, and extra graphics may be better suited to secondary listing images.
For a social post, give the message room to breathe. Add a short headline, one supporting accent, and enough contrast to make the product stand out. Keep text clear of the image edges so that cropping does not remove a price or offer.
Build each version on a canvas that fits its destination. Do not stretch a square design into a portrait shape. Reposition the product, text, and clipart instead. Save an editable copy with separate layers so that changing an offer does not require rebuilding the graphic.
Review the finished graphic at the size people will actually see. Tiny text that looks sharp while zoomed in may become unreadable on a phone. Fine clipart details may turn into clutter. Reduce or remove anything that weakens the product’s visibility.
Check the cutout edge again after placing it on the final background. Look for halos, clipped corners, and stray pixels. Confirm that the product keeps its original proportions. Dragging a side handle without preserving the aspect ratio can make bottles wider or boxes taller than they really are.
Finally, open the exported graphic itself. Confirm that it has the intended dimensions, background, and image quality. Keep the transparent product PNG separate from this finished export so that it remains available for future layouts.
A carefully prepared cutout can save you from photographing the same product for every promotion. Start with a clear iPhone photo, resolve HEIC compatibility if needed, and clean up the background removal before saving a transparent PNG. That file becomes a useful building block for listing images, seasonal offers, and social posts.
Let the product lead the design. Use free clipart to support its story, keep decoration restrained, and check the result on a phone before publishing. With a dependable cutout and an editable layout, your next graphic can start with an asset you already trust.
Learn to choose transparent clipart, match illustration styles, and balance spacing, color, and text for polished social media graphics.
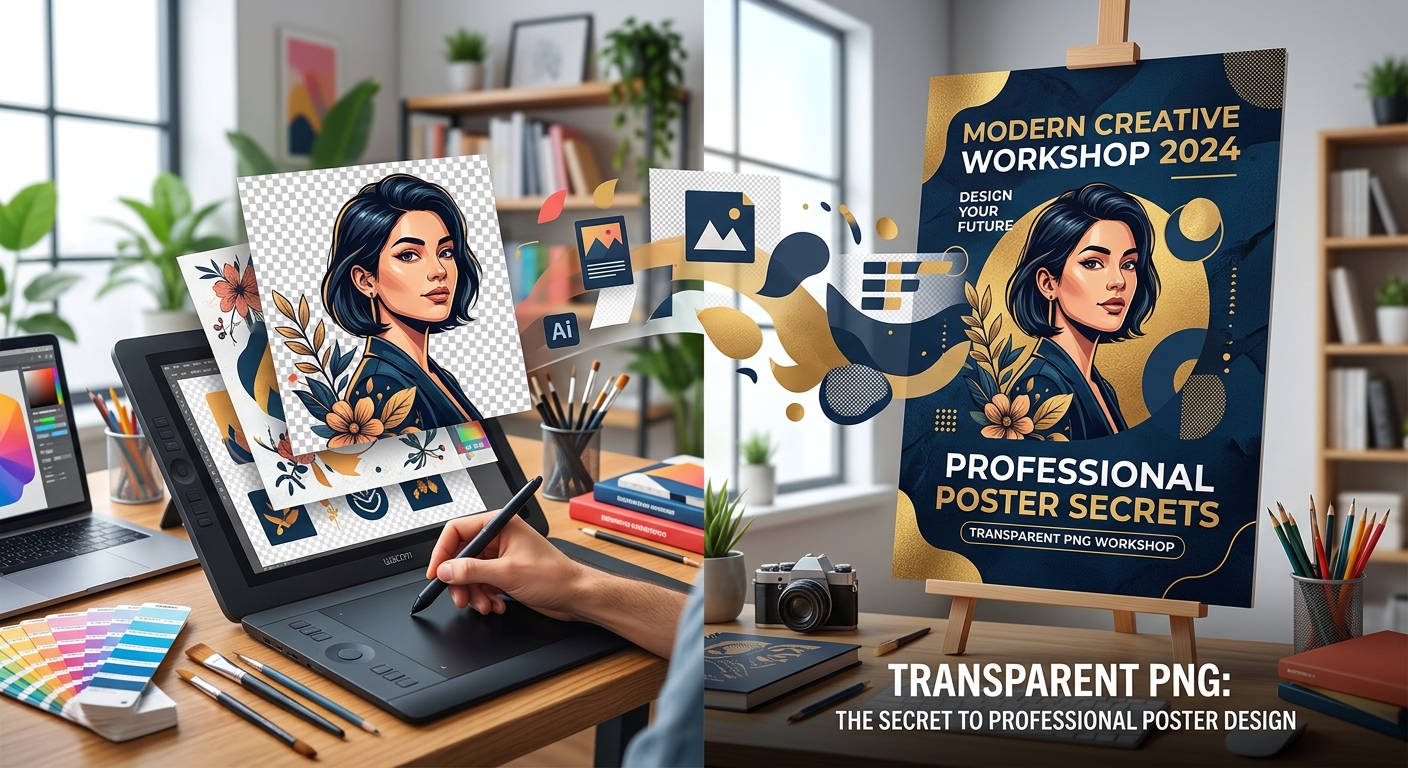
Create polished posters with transparent PNGs, readable fonts, balanced spacing, and practical checks for image resolution, licensing, and export quality.

Build a smarter free asset workflow by project type. Learn how transparent PNGs and stock photos work together for social media, e-commerce, blogs, and more.
 Favorites
0
Favorites0
Favorites
0
Please add SubPNG.com in the final credits
Please add SubPNG.com in the final copy
Please add SubPNG.com to final design
Copy and paste the below code for attribution:
Don’t want to give attribution? Join Pro to get our entire library with generous usage rights, so you can use items with confidence.