
How to Use Transparent Clipart in Social Media Graphics That Look Polished
Learn to choose transparent clipart, match illustration styles, and balance spacing, color, and text for polished social media graphics.

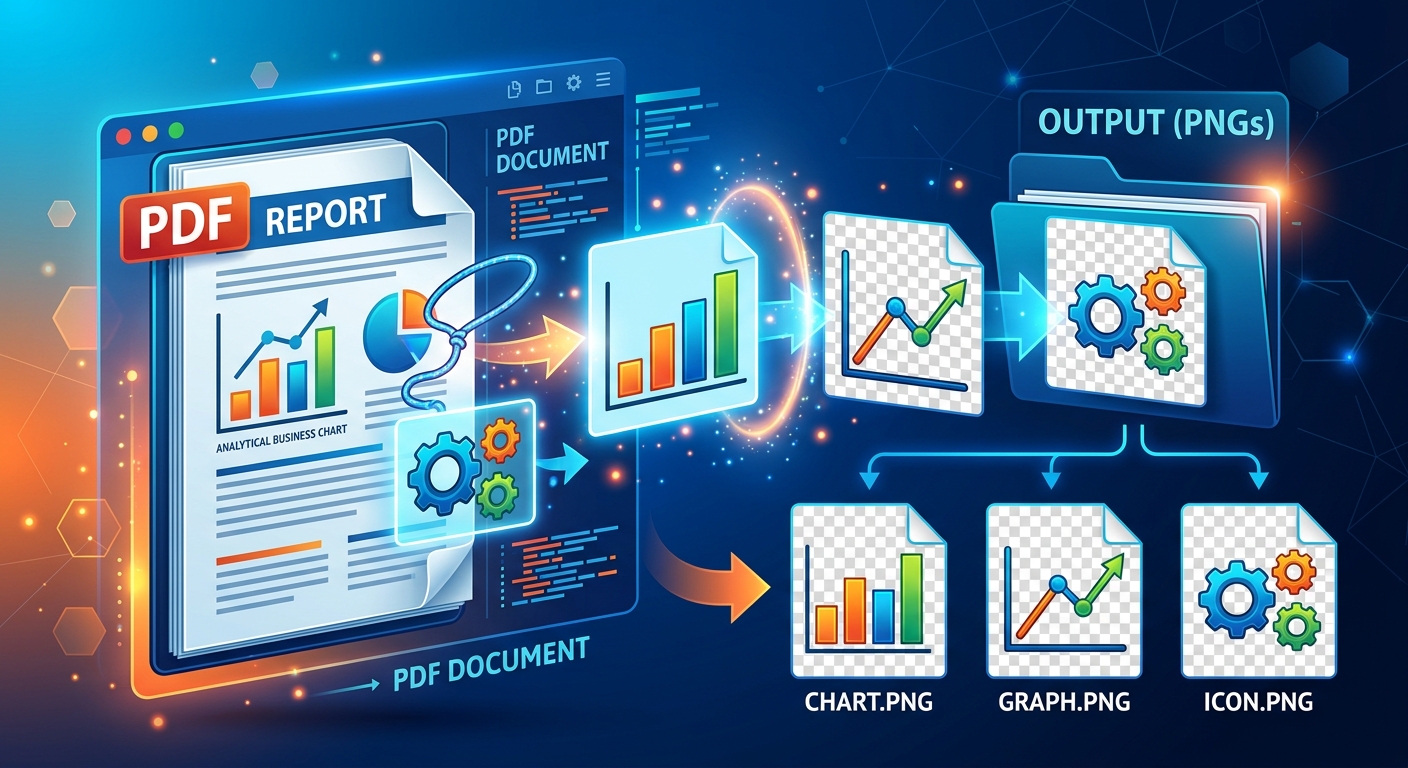
You finally found it. That crisp logo or product photo you need is buried inside a PDF. A vendor sent a product sheet. A client handed over a brand kit as a PDF instead of a folder of files. An old brochure has artwork in it that exists nowhere else. The image is right there on the screen, but you can't just drag it out and use it. If this situation sounds familiar, you're not alone. Designers and content creators run into this constantly, and the fix is simpler than most people realize.
PDFs are built to lock layout in place. That's the whole point of the format. But to preserve that layout accurately, a PDF has to store the original assets inside it. Logos, product photography, illustrations, icons. They're all embedded, often at the resolution they were originally created at. A PDF produced from a print-ready source frequently contains images at 300 DPI or higher.
Most people never tap into this. They take a screenshot of what they need, end up with a blurry low-resolution crop, and give up. The smarter path is to go into the file and extract the actual embedded image data. Once you have it, you can work with it at full quality.
This workflow applies in several recurring situations that designers face:
Before background removal or format conversion enters the picture, you need the raw image files. This is the step many tutorials skip over too fast. Extraction is its own process, and doing it well matters.
PDFBear handles this cleanly in a browser. You upload the PDF, and the tool pulls every embedded image out as a separate downloadable file. No account setup, no software installation. The ability to extract images from PDF files directly in a browser removes a real barrier, particularly if you're on a managed work machine where installing new software requires IT approval.
After downloading the extracted files, take a minute to go through them. Some PDFs store the same image at multiple sizes, so you may end up with duplicates. Always grab the highest-resolution copy of any asset you need. You'll also notice the extracted files come out as JPEGs or PNGs depending on how they were originally saved inside the document.
Once you have separate image files, check a few things before doing any editing. First, look at the background. Even if a logo appears on white inside the PDF, the extracted file may still carry that white fill as part of the image data. That background needs to be removed before the asset is ready to use in any layered design context.
Second, note the format. JPEG files cannot store transparency at all. The format simply does not support it. If your extracted image came out as a JPEG, you need to convert it to PNG before any background removal you apply will stick. Most modern background removal tools handle this conversion automatically as part of the export step, but it's worth knowing so you aren't confused if transparency doesn't appear where you expected it.
Third, check the color mode. PDFs prepared for print workflows often contain images in CMYK color rather than RGB. CMYK images can look visually off when opened in screen-based design tools. If that's the case, convert to sRGB before moving forward.
Background removal has improved significantly. AI-powered tools now handle most common cases in seconds. Remove.bg, Adobe Express, and Canva's built-in background remover are all reliable starting points. Here's how to approach the process depending on what you're working with:
After any background removal, zoom into the edges of the subject at 100 percent or more. A colored fringe left behind at the edges is a common artifact. Most tools let you adjust edge detection or apply a slight edge refine to clear it up. Don't skip this check. A halo around a logo is immediately noticeable when the asset is placed over a colored background in a finished design.
Choosing PNG as your output format is non-negotiable for transparent assets. The PNG specification includes full alpha channel support, meaning every individual pixel in the image can carry its own opacity value. This allows for smooth semi-transparent edges, gradients, and soft shadows in a way that older formats like GIF cannot replicate.
| Format | Transparency Support | Best Use Case | Key Limitation |
|---|---|---|---|
| PNG | Full alpha channel | Logos, icons, clipart, overlays | Larger file size than JPEG |
| JPEG | None | Photos on solid backgrounds | Transparency is impossible |
| SVG | Yes, vector-based | Logos, icons, scalable artwork | Not suited for photographs |
| WebP | Yes | Web graphics, compressed output | Inconsistent support in print and older apps |
| GIF | Binary only (fully on or off) | Simple animations | No partial transparency, 256-color limit |
For transparent design assets, PNG is the right call almost every time. It works across every design application, handles soft edges properly, and preserves image quality without the compression artifacts that come with JPEG.
Not every PDF will give you everything the project needs. You might pull the main product image cleanly but still need a supporting icon set, a decorative border, a category illustration, or a background element to complete the composition. That's where a transparent PNG library fills the gap.
SubPNG's library covers an enormous range of categories: business and technology icons, food and lifestyle illustrations, educational clipart, seasonal graphics, social media elements, and far more. Every asset comes pre-cut with transparency already in place, so you skip the background removal step entirely. That saves real time when you're assembling a design from multiple sources at once.
The right way to think about these two sources is as complementary tools. You use extracted PDF images for proprietary material where you need the actual brand asset. You use free library assets to build out the supporting elements that would otherwise require time or budget to source separately. Together, they cover most project needs without requiring either a design budget or hours of manual asset creation.
A handful of common errors come up repeatedly in this workflow. Knowing them in advance prevents a lot of rework:
The pipeline is shorter than it looks at first. Pull the embedded images out cleanly, strip away the background with an AI removal tool, check the edges, export as a transparent PNG. From a locked document to a reusable asset takes minutes once you know the steps.
PDFs are a source of design assets most people walk past without realizing it. Brand kits, product catalogs, press releases, archived brochures. They all contain real image data that can be recovered and put back to work. Paired with a free transparent asset library for the supporting pieces, this workflow handles the majority of sourcing needs a typical design project throws at you.
The designers who move fastest aren't always the most experienced. They just know where assets are hiding and how to prepare them properly. This is one of those workflows worth adding to your regular practice.
Learn to choose transparent clipart, match illustration styles, and balance spacing, color, and text for polished social media graphics.
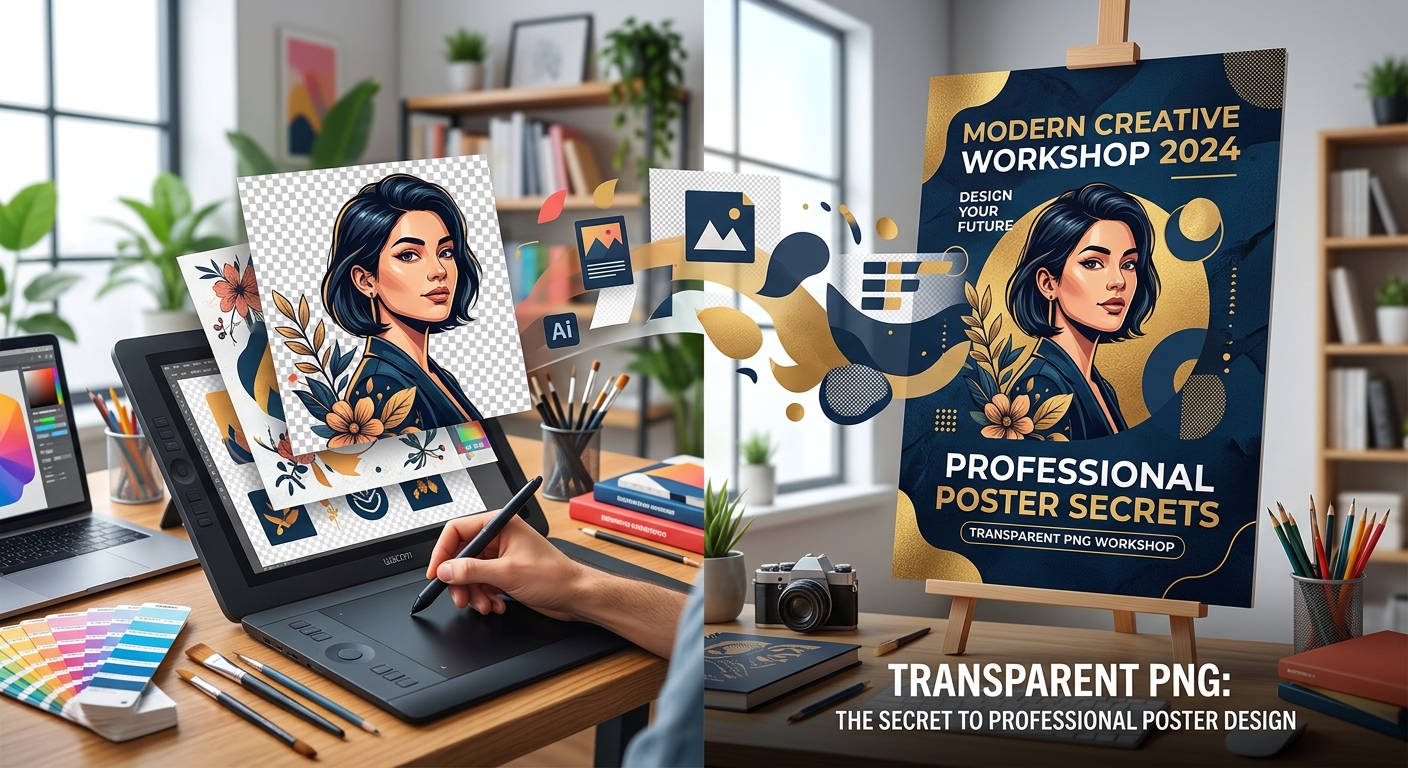
Create polished posters with transparent PNGs, readable fonts, balanced spacing, and practical checks for image resolution, licensing, and export quality.
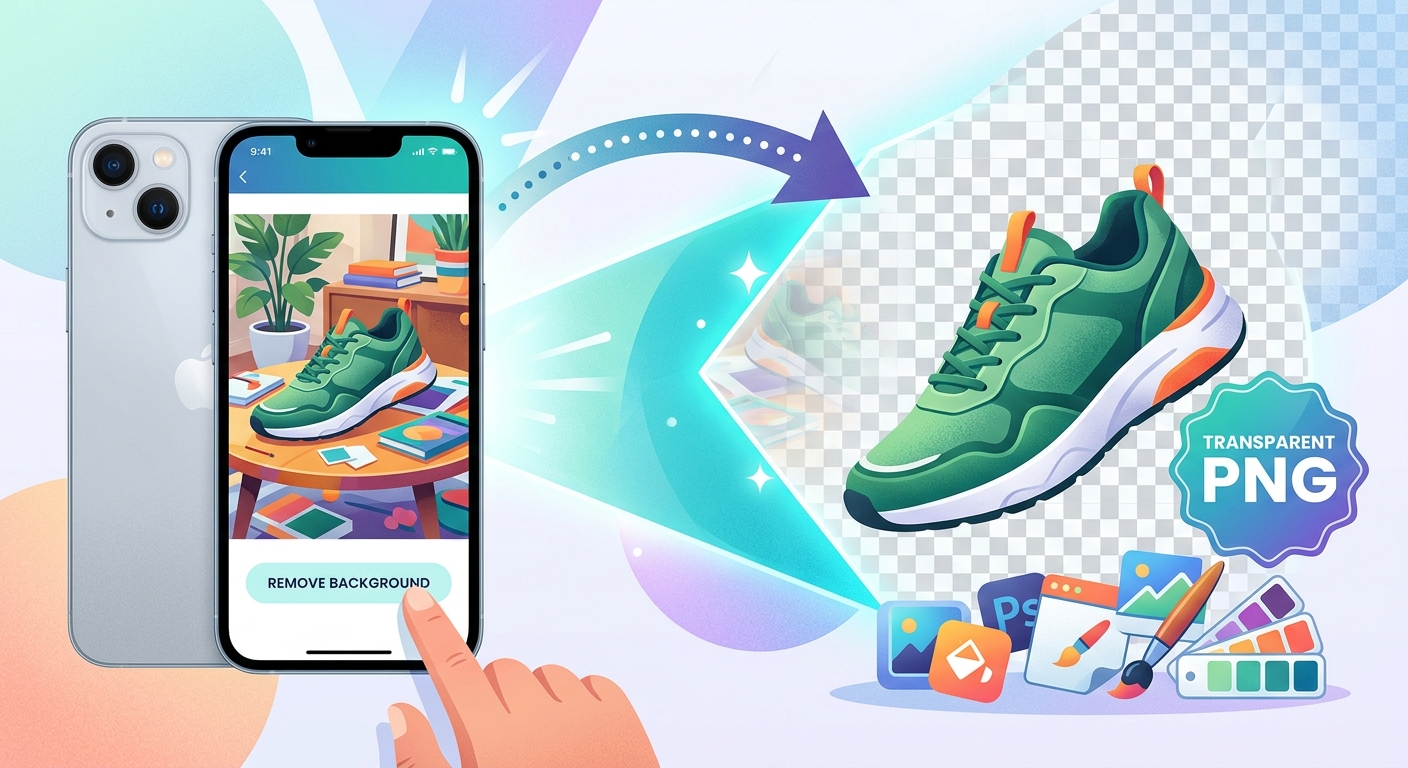
Turn iPhone product photos into transparent PNGs, clean up cutout edges, and pair them with free clipart for shop listings and social posts.
 Favorites
0
Favorites0
Favorites
0
Please add SubPNG.com in the final credits
Please add SubPNG.com in the final copy
Please add SubPNG.com to final design
Copy and paste the below code for attribution:
Don’t want to give attribution? Join Pro to get our entire library with generous usage rights, so you can use items with confidence.